This article is a guide to install FreeBSD 8 using an installation CD/DVD, please make sure you've got a FreeBSD 8 installation CD/DVD.
1.Starting the FreeBSD installation
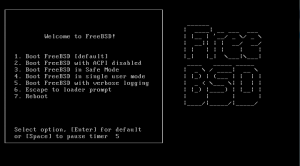
Start the installation by booting up using the installation disc.
Press ENTER, the system will start hardware probe process and you will see lots of text messages flying by your screen.
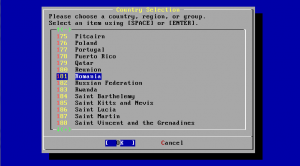
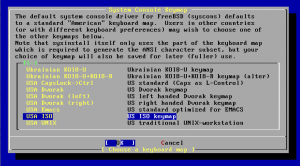
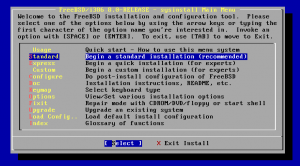
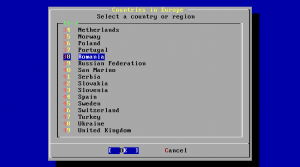
Once the installer has booted up it'll ask you to select the country, system console keymap and the type of installation you want to run. You can use the UP/DOWN arrow key to select and ENTER to continue.
We'll choose "Standard" method to install FreeBSD, it is recommended for most situations.
Then you'll see a message window telling you that you are about to start setting up the disk for this installation. Please press ENTER key to continue.
2. Allocating disk space
If you have more than one disk installed on your computer, you'll see a screen to prompt you to select which disk you want to set up. Press SPACE key to select the disk, use TAB key to highlight [ OK ], then press ENTER to continue.
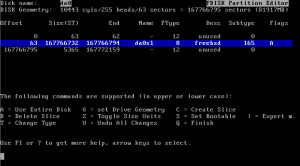
In the screen, it will display all the information about your disk, as shown in the screen shot below. You need to choose where on the disk you want FreeBSD to be installed. Since our server is dedicated to FreeBSD, we'll press "A" here to use the entire disk and then we'll set it as bootable by pressing "S" key. When finished, press "Q" to continue with the next step.
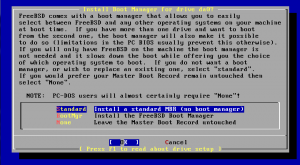
Install a standard MBR (no boot manager) when prompted.
3. Creating partitions
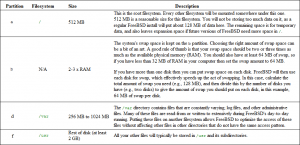
You must now create some partitions inside the slice that you have just created. Remember that each partition is lettered, from a through to h, and that partitions b, c, and d have conventional meanings.
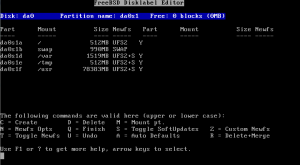
Press "A" to create default layout or you can manually create the partitions if you like.
Press "Q" to save and continue (it'll return to disk selection if there is more than one disk on your computer).
4. Choosing What to Install and the installation media
Here you need to choose what you want to install on your system. It's recommended you to choose minimal installation.
Next screen is to choose installation media. Here we'll use the installation CD. So use the arrow keys to highlight "Install from a FreeBSD CD/DVD". Ensure that [ OK ] is highlighted, then press ENTER to proceed with the installation.
5. Committing to the Installation
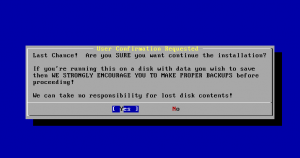
Next, select [ Yes ] to confirm your choices and installation will now start, unless you want to change your choices or cancel installation.
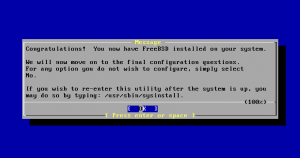
Then you'll have the installation progress screen. The installation time will vary according to the distribution chosen, installation media, and the speed of the computer. There will be a series of messages displayed indicating the status. When everything is done you'll see a congratulation message saying the installation is completed.
Press ENTER to go the post installation configurations.
6. Post installation configurations
Configuration of various options follows the successful installation. An option can be configured by re-entering the configuration options before booting the new FreeBSD system or after installation using sysinstall command and selecting Configure.
The first one is to configure the network interface. Select [ Yes ] when prompted and then in the next screen, use arrow keys to highlight the interface you want to configure, usually the first one, then press ENTER to continue.
Use TAB to select the information fields and fill in appropriate information:
Host: The fully-qualified hostname, like myserver.example.com
Domain: The name of the domain that your machine is in, such as example.com
IPv4 Gateway: IP address of host forwarding packets to non-local destinations (also known as the default gateway or default route)
Name server: IP address of your DNS.
IPv4 address: The IP address to be used for this interface.
Netmask: such as 255.255.255.0
Extra options to ifconfig: can be left blank.
Use TAB to select [ OK ] when finished and press ENTER. When prompted if you want to bring up this interface, select [ Yes ] and press ENTER if the interface is ready, otherwise select [ No ].
If the machine will be acting as the gateway for a LAN and forwarding packets between other machines then select [Yes] and press Enter. If the machine is a node on a network then select [ No ] and press ENTER to continue.
When prompted if you want to configure inetd and the network services, select [ No ] for now, you can always change it at a later time.
When prompted if you want to enable SSH, select [ Yes ] and press ENTER so that you can login remotely in a secure manner.
You'll then be prompted for configuring some services, skip the following: Anonymous FTP, NFS server, NFS client, system console settings, Linux binary compatibility, mouse settings, install packages.
Setting the time zone for your machine will allow it to automatically correct for any regional time changes and perform other time zone related functions properly.
When asked "Is this machine's CMOS clock set to UTC?", press ENTER to keep default [ No ] and continue.
When asked "Does the abbreviation 'EEST' look reasonable?", select [ Yes ] and continue.
Next, you should add at least one user during the installation so that you can use the system without being logged in as root.
After you finish settings for above items, you'll be prompted to set password for root user. Choose a password that's 8 digits or more and is complex enough.
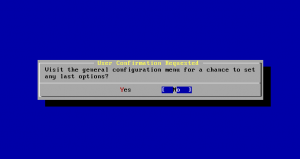
The installation will continue after the password is successfully entered. You'll then be asked if you want to visit general menu and change some other options. It's default to [ No ].
Press ENTER to continue.
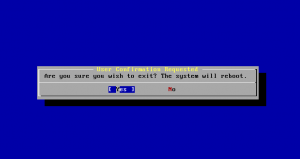
Now installation is completed. You're back again to the main installation menu. Use TAB to highlight "Exit Install" and then press ENTER to reboot the system. Please remove install CD/DVD at this moment.
